找回密碼
 立即註冊
惟家LINE群QRCODE
    查看: 3|回覆: 0

    我的 SVG 平面圖完整設定公開(可以直接複製改)

    [複製鏈接]

    !lvup!   100%

    363

    主題

    27

    回帖

    2200萬

    積分

    管理員

    積分
    22005752
    發表於 3 天前 | 顯示全部樓層 |閱讀模式
    這是平面圖系列的最後一篇。

    把我自己在用的完整設定貼出來,可以直接改成你家的。


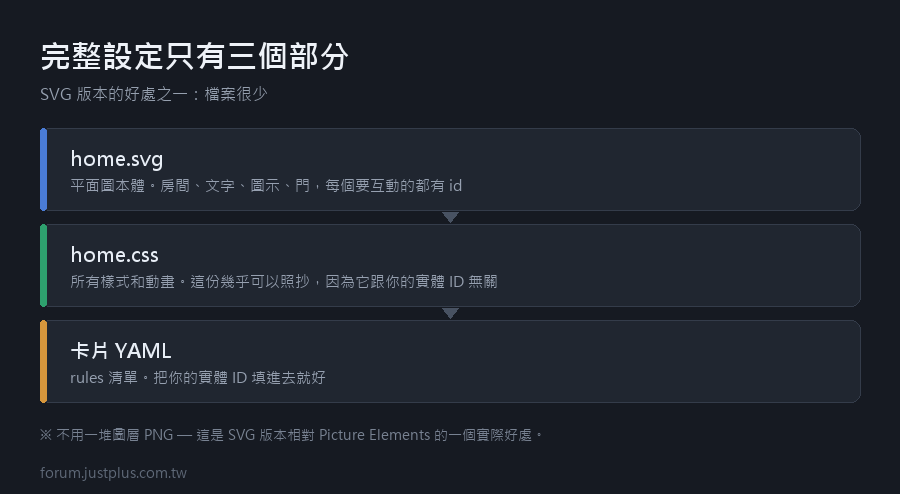
    檔案結構
    1. /config/www/floorplan/
    2. ├── home.svg           ← 平面圖本體
    3. ├── home.css           ← 所有樣式和動畫
    4. └── (沒有別的了)
    複製代碼

    SVG 版本的好處之一:檔案很少。
    不用一堆圖層 PNG。

    一、SVG 的結構

    用文字編輯器打開的話,長這樣(簡化版):
    1. <svg width="1000" height="620" viewBox="0 0 1000 620"
    2.      xmlns="http://www.w3.org/2000/svg">
    3.   <!-- 濾鏡定義(光暈效果用) -->
    4.   <defs>
    5.     <filter id="glow" x="-50%" y="-50%" width="200%" height="200%">
    6.       <feGaussianBlur stdDeviation="10" result="b"/>
    7.       <feMerge>
    8.         <feMergeNode in="b"/>
    9.         <feMergeNode in="SourceGraphic"/>
    10.       </feMerge>
    11.     </filter>
    12.   </defs>
    13.   <!-- 房間(id = 那個房間主燈的實體 ID) -->
    14.   <rect id="light.living_room"  x="0"   y="0"   width="400" height="312"/>
    15.   <rect id="light.dining_room"  x="400" y="0"   width="250" height="312"/>
    16.   <rect id="light.kitchen"      x="650" y="0"   width="350" height="312"/>
    17.   <rect id="light.entrance"     x="0"   y="312" width="180" height="288"/>
    18.   <rect id="light.bedroom"      x="180" y="312" width="320" height="288"/>
    19.   <rect id="light.bathroom"     x="500" y="312" width="180" height="288"/>
    20.   <rect id="light.second_bedroom" x="680" y="312" width="320" height="288"/>
    21.   <!-- 房間名稱(純裝飾,不接實體) -->
    22.   <text x="14" y="30" class="room-name">客廳</text>
    23.   <text x="414" y="30" class="room-name">餐廳</text>
    24.   ...
    25.   <!-- 感測器數值(id = 感測器的實體 ID) -->
    26.   <text id="sensor.living_room_temperature" x="330" y="280"
    27.         class="sensor-text">--</text>
    28.   <text id="sensor.bedroom_temperature" x="430" y="580"
    29.         class="sensor-text">--</text>
    30.   <!-- 門(會轉開的那個) -->
    31.   <rect id="binary_sensor.front_door" x="60" y="596"
    32.         width="80" height="6"/>
    33.   <!-- 人體感應(小圓圈) -->
    34.   <circle id="binary_sensor.bathroom_motion" cx="590" cy="480" r="12"/>
    35.   <!-- 警報圖示(平常看不見) -->
    36.   <circle id="binary_sensor.kitchen_leak" cx="720" cy="270" r="16"
    37.           class="alert-idle"/>
    38. </svg>
    複製代碼

    幾個設計決定


    • 房間的 id 就是那盞燈 —— 點房間就是開關燈,最直覺
    • 房間名稱不接實體 —— 純裝飾,用 class 統一樣式
    • 感測器用 <text>,初始內容是 "--" —— 載入前不會是空白
    • 警報圖示預設有 class="alert-idle" —— 平常 opacity: 0


    二、完整的 CSS
    1. /* ============ 全域 ============ */
    2. svg {
    3.   font-family: "Microsoft JhengHei", "PingFang TC", sans-serif;
    4. }
    5. /* 所有房間的共同樣式 */
    6. rect[id^="light."] {
    7.   stroke: #3A4250;
    8.   stroke-width: 3;
    9.   cursor: pointer;
    10. }
    11. /* ============ 燈光 ============ */
    12. .light-off {
    13.   fill: #F4F6FA !important;
    14.   filter: none;
    15.   transition: fill 0.8s ease-in-out, filter 0.8s ease-in-out;
    16. }
    17. .light-on {
    18.   fill: #FFD54F !important;
    19.   filter: url(#glow);
    20.   transition: fill 0.8s ease-in-out, filter 0.8s ease-in-out;
    21. }
    22. /* 不可用(裝置掉線) */
    23. .light-unavailable {
    24.   fill: #E8E8E8 !important;
    25.   stroke-dasharray: 6 4;
    26. }
    27. /* ============ 房間名稱 ============ */
    28. .room-name {
    29.   font-size: 19px;
    30.   font-weight: bold;
    31.   fill: #344052;
    32.   pointer-events: none;      /* 讓點擊穿透到底下的房間 */
    33. }
    34. /* ============ 感測器文字 ============ */
    35. .sensor-text {
    36.   font-size: 15px;
    37.   font-weight: 500;
    38.   fill: #2C3440;
    39.   transition: fill 0.6s;
    40.   pointer-events: none;
    41. }
    42. .sensor-hot    { fill: #E53935; }
    43. .sensor-warm   { fill: #FB8C00; }
    44. .sensor-cold   { fill: #1E88E5; }
    45. /* ============ 門 ============ */
    46. .door-closed, .door-open {
    47.   fill: #8D6E63;
    48.   transform-origin: top left;
    49.   transform-box: fill-box;
    50.   transition: transform 0.6s ease-in-out;
    51. }
    52. .door-closed { transform: rotate(0deg); }
    53. .door-open   { transform: rotate(-75deg); }
    54. /* ============ 人體感應 ============ */
    55. @keyframes motion-ping {
    56.   0%   { r: 12; opacity: 0.9; }
    57.   100% { r: 26; opacity: 0; }
    58. }
    59. .motion-detected {
    60.   fill: #42A5F5;
    61.   animation: motion-ping 1.6s ease-out infinite;
    62.   transform-box: fill-box;
    63. }
    64. .motion-clear {
    65.   fill: #C5CAD3;
    66.   opacity: 0.35;
    67.   transition: opacity 0.6s;
    68. }
    69. /* ============ 警報 ============ */
    70. @keyframes alert-pulse {
    71.   0%, 100% { opacity: 1;    fill: #E53935; }
    72.   50%      { opacity: 0.3;  fill: #FF8A80; }
    73. }
    74. .alert-active {
    75.   animation: alert-pulse 0.9s ease-in-out infinite;
    76. }
    77. .alert-idle {
    78.   opacity: 0;
    79.   transition: opacity 0.5s;
    80.   pointer-events: none;
    81. }
    複製代碼

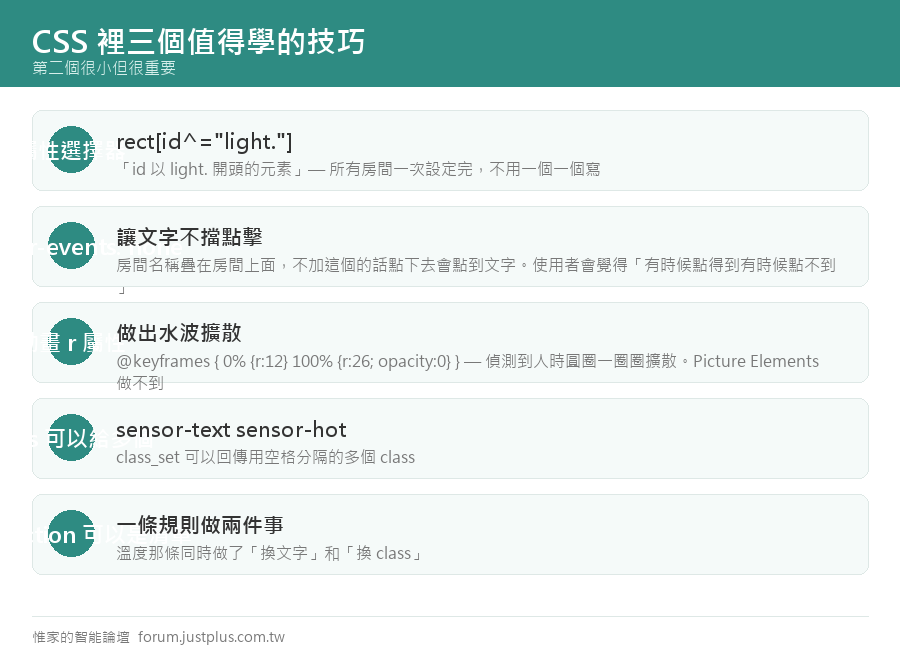
    三個值得學的小技巧

    技巧一:用屬性選擇器統一設定
    1. rect[id^="light."] {
    2.   stroke: #3A4250;
    3.   stroke-width: 3;
    4. }
    複製代碼

    [id^="light."] 的意思是「id 以 light. 開頭的元素」。

    這樣所有房間一次設定完,不用一個一個寫。

    技巧二:pointer-events: none 讓文字不擋點擊

    房間名稱和感測器數值疊在房間上面
    點下去會點到文字而不是房間。

    加了 pointer-events: none 之後,點擊會穿透過去

    這個小細節很重要,不然使用者會覺得「有時候點得到有時候點不到」。

    技巧三:動畫 r 屬性做出擴散效果
    1. @keyframes motion-ping {
    2.   0%   { r: 12; opacity: 0.9; }
    3.   100% { r: 26; opacity: 0; }
    4. }
    複製代碼

    r 是圓形的半徑。動畫它就會做出「水波擴散」的效果 ——
    偵測到人的時候,那個小圓圈會一圈一圈擴散出去。

    這個效果 Picture Elements 完全做不到。


    三、完整的卡片設定
    1. type: custom:floorplan-card
    2. full_height: true
    3. config:
    4.   image: /local/floorplan/home.svg
    5.   stylesheet: /local/floorplan/home.css
    6.   log_level: warning
    7.   console_log_level: warning
    8.   defaults:
    9.     hover_action: hover-info
    10.     tap_action: more-info
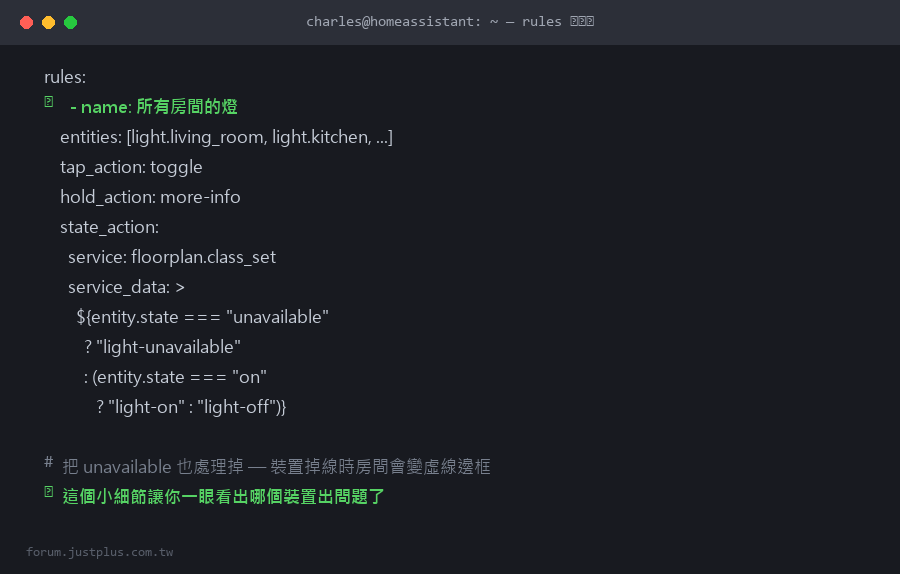
    11.   rules:
    12.     # ---------- 燈光 ----------
    13.     - name: 所有房間的燈
    14.       entities:
    15.         - light.living_room
    16.         - light.dining_room
    17.         - light.kitchen
    18.         - light.entrance
    19.         - light.bedroom
    20.         - light.bathroom
    21.         - light.second_bedroom
    22.       tap_action: toggle
    23.       hold_action: more-info
    24.       state_action:
    25.         action: call-service
    26.         service: floorplan.class_set
    27.         service_data: >
    28.           ${entity.state === 'unavailable' ? 'light-unavailable'
    29.             : (entity.state === 'on' ? 'light-on' : 'light-off')}
    30.     # ---------- 溫度:文字 ----------
    31.     - name: 溫度數值
    32.       entities:
    33.         - sensor.living_room_temperature
    34.         - sensor.bedroom_temperature
    35.         - sensor.second_bedroom_temperature
    36.       state_action:
    37.         - action: call-service
    38.           service: floorplan.text_set
    39.           service_data: >
    40.             ${isNaN(parseFloat(entity.state)) ? '--'
    41.               : parseFloat(entity.state).toFixed(1) + '°'}
    42.         - action: call-service
    43.           service: floorplan.class_set
    44.           service_data: >
    45.             ${(() => {
    46.               const t = parseFloat(entity.state);
    47.               if (isNaN(t)) return 'sensor-text';
    48.               if (t >= 29) return 'sensor-text sensor-hot';
    49.               if (t >= 27) return 'sensor-text sensor-warm';
    50.               if (t <= 20) return 'sensor-text sensor-cold';
    51.               return 'sensor-text';
    52.             })()}
    53.     # ---------- 門 ----------
    54.     - name: 門窗
    55.       entities:
    56.         - binary_sensor.front_door
    57.       state_action:
    58.         action: call-service
    59.         service: floorplan.class_set
    60.         service_data: '${entity.state === "on" ? "door-open" : "door-closed"}'
    61.     # ---------- 人體感應 ----------
    62.     - name: 人體感應
    63.       entities:
    64.         - binary_sensor.bathroom_motion
    65.         - binary_sensor.hallway_motion
    66.       state_action:
    67.         action: call-service
    68.         service: floorplan.class_set
    69.         service_data: >
    70.           ${entity.state === 'on' ? 'motion-detected' : 'motion-clear'}
    71.     # ---------- 警報 ----------
    72.     - name: 漏水與瓦斯
    73.       entities:
    74.         - binary_sensor.kitchen_leak
    75.         - binary_sensor.bathroom_leak
    76.         - binary_sensor.kitchen_gas
    77.       state_action:
    78.         action: call-service
    79.         service: floorplan.class_set
    80.         service_data: >
    81.           ${entity.state === 'on' ? 'alert-active' : 'alert-idle'}
    複製代碼

    注意 state_action 可以是一個清單 ——
    溫度那條規則同時做了兩件事(換文字 + 換 class)。

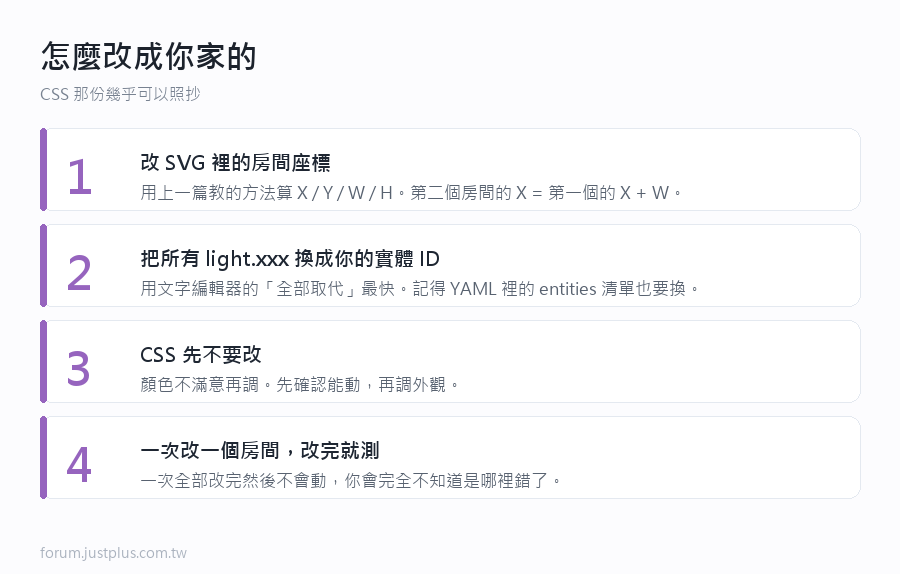
    怎麼改成你家的


    • 第一步:把 SVG 裡的房間座標改成你家的(上一篇教過怎麼算)
    • 第二步:把所有 light.xxx 換成你的實體 ID
    • 第三步:CSS 可以完全不改(顏色不滿意再調)
    • 第四步:YAML 裡的 entities 清單換成你的


    CSS 那份幾乎可以照抄,因為它跟你的實體 ID 無關。

    最後:兩個版本並存的設定

    前面提過我手機用 Picture Elements、平板用 SVG。

    做法是兩個不同的儀表板


    • 設定 → 儀表板 → 新增儀表板
    • 一個叫「首頁」(Picture Elements 版)
    • 一個叫「平板」(SVG 版)
    • 平板的瀏覽器書籤直接開「平板」那個


    這樣手機端永遠不會因為 HACS 外掛出問題而掛掉。

    平面圖系列的總結

    十八篇走完,回頭看幾個心得:


    • Picture Elements 版本就能滿足九成需求,先做那個
    • 最有價值的不是動畫,是「一眼看完整個家」
    • 家人會用,才算成功 —— 我的判斷標準是「有沒有人主動用它開燈」
    • 不要塞太多東西,20-25 個元素是舒適的上限
    • transition 比 animation 重要 —— 安靜的介面才耐看


    做完之後最意外的收穫

    我太太本來完全不碰 HA 的 App,
    平面圖做好之後她開始自己關燈了 ——
    因為她看到的是「我們家」,不是一堆卡片。

    ---

    平面圖系列到這裡結束。

    下一篇開始講儀表板本身 ——
    Sections 版面、Tile 卡片、card-mod,
    這些是不做平面圖也用得到的東西。
    您需要登入後纔可以回帖 登入 | 立即註冊

    本版積分規則

    Archiver|手機版|惟家的智能論壇

    GMT+8, 2026-9-24 11:29 , Processed in 0.098228 second(s), 24 queries .

    快速回覆 返回頂部 返回列表